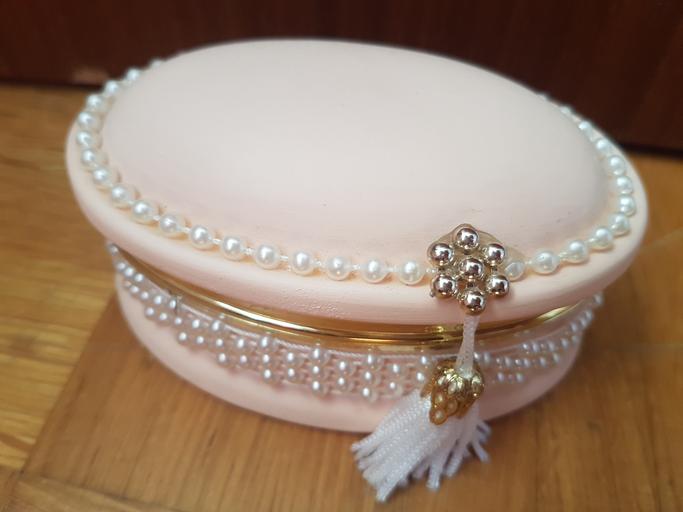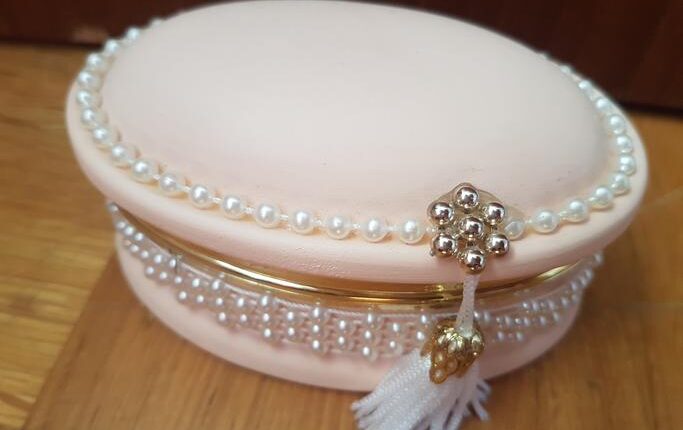
Size matters when making a jewelry box and it’s important to gauge the amount of jewelry to be stored, as well as whether it will remain in a stationary place, such as a dresser top or be used when traveling. Knowing the purpose for the box helps determine the types of materials that can be used for construction.
One tip for boxes that will be used for travel is to choose sturdy materials and to know any travel restrictions on certain types of materials that may not make it past travel security regulations.
Customizing Jewel Boxes
Making a jewel box opens a wide world of choices of materials from which it can be made. Jewel box shapes can vary from the traditional square shape to oval, rectangular, octagonal and circular shapes. These shapes are a clue to where to find the materials.
For individuals with a great eye for keeping candy boxes, cookie tins and gift boxes, these preformed items save a lot of construction time.
However, cutting small to medium size pieces of wood, bamboo, glass and plastic to make a jewel box is relatively simple. For these materials, you’ll need a ruler, a crafting cutter, crafting glue or a glue gun and strips of the preferred material.
Getting Started
For pre-formed boxes, the job of making a jewelery box is a matter of choosing suitable fabric to cover the box. Fabric can be glued to the surface of preformed boxes. Then glue sequins, beads or old bits of jewels to the top and sides.
To make the box look quilted, attach batting to the underside of the fabric and sew using a quilting patterned design.
If embroidery or crocheting are possible, these also add flair to a DIY jewel box. Preformed boxes are ideal for traveling purposes.
Hand Crafted Jewel Boxes
There is something quite self-satisfying about making a hand crafted jewel box. These are fully custom sized and shaped. It is best to draw a design of the box before trying to hand craft it.
Today, there are many crafting tools that help create a wealth of designs and may include cutting as well as die cutting applications. These tools speed up the actual construction of the jewel box.
To build a jewel box manually, plan your design so it has a sturdy supportive form. Old pieces of wood paneling are a good way to repurpose and recycle these unused materials to create a form.
Measure and cut the materials to meet the design shape. For instance, if the shape is circular, start by measuring the material to design size for the top and bottom before cutting the circular shape.
For a circular jewel box the material of choice should be somewhat flexible in order to create a band sized to fit the top and bottom and the box’s sides. If the material is not flexible, cut into quarters that can be glued to the bottom and to each quarter. This would apply to materials like plastic, wood and glass.
To make the jewel box top, be sure to consider the thickness of the material as well as the closure so the top fits snuggly over the box. The top and bottom should be approximately the same thickness for stability and storage convenience.
Depth of the Box is Important
Depending upon how much will be stored in a custom made box, it should be designed with sufficient depth of at least four to six inches internally. Once the size of the internal depth is determined, it is easier to size the bottom, sides and top. The depth measurement for a long, rectangular box could be three to four inches,
Decorating a Jewel Box
When the jewel box is designed, measured, cut and glued, it is time to release the inner creative juices to decorate it.
Don’t be afraid to make use of bamboo sticks, seashells, feathers or create a braided rug look by braiding long strips of fabric or yarn to glue to the box.
Create a frame on the top with braided fabric and then add a favorite small framed photo.
Jewel boxes can be made from most any preformed items. Make use an old boot or favorite shoe for smaller size boxes. If they need reinforcement, use ice cream sticks and then decorate as preferred.


Comments are closed.