There are lots of amazing reasons to like jewelry, but researchers have recently found that people appreciate it for much more elemental reasons than we previously thought.
Studies show that people prefer glossy objects such as gemstones even when blindfolded. Experts believe that this glossy texture is reminiscent of water, which makes jewelry feel like part of our essential life force. No matter how you slice it, it’s clear that jewelry is a part of our lives for some really extraordinary reasons!
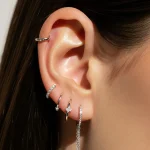
Jewelry is also a form of self-expression, which makes using crimp beads and similar items to craft handmade pieces a delightful experience. Read on to learn why crimp beads are an essential part of crafting and how you can use them when making jewelry.
What Are Crimp Beads and Tubes?
Crimp beads are tiny metal or plastic beads that help to secure knots on a piece of jewelry. They’re not an aesthetic or stylish part of your piece but rather are part of the foundation that holds it together. Using these beads is essential when you’re making beaded jewelry.
A crimp tube is a form of crimp beads that also act as spacers between two beads or two areas of beads. They’re perfect for when you want to space out different colors or bead shapes. Some crimp tubes also come with designs on them such as floral patterns, dots, stripes, or even lettering.
How Can You Use Them in Jewelry Making?
At this point, you likely are wondering how to use crimp beads in your individual pieces. This is a multi-step process, but it’s pretty easy when you get the hang of it. All you need is good focus and fine motor skills and you’re already halfway to stringing beads in an effective way.
String Your First Crimp Bead/Tube
The first step to using crimp beads is to string one along the wire that you’re using to shape your necklace or bracelet.
Choose your wire and determine the size of it. You can use an online chart to see what size of crimp beads or tubes you need for the specific wire size you have. Thicker thread or multiple strands of wire crimped together will require larger beads.
Once you have the right size beads for your wire, add an endpiece to one end of it. A clasp will do nicely because you can use it to clamp the chain around your neck or wrist when your piece is complete.
After that, it’s time to use your crimp tube. Form a loop through the clasp and the crimp bead by feeding the wire back through the tube. Leave a little bit of wire on the other side of the loop so that you have some extra wire if you realize that you need it.
Mold and Form Beads
Next, you’ll need to mold and form your crimp beads to the wire. Slide the bead down the wire until it’s near the clasp, but not too close to it. You still want to have a small loop around the clasp that’s tight enough that it can’t move freely.
After that, you can grab your bead crimping tool and press on the bead rightly with the pliers. You want to flatten it out gently but firmly so that it can’t move. The inside of the beat should have a little dent in it that causes the bead to look like a skinny moon.
You can then use your pliers to round the bead out again. Close the opening of the crescent shape so that the edges form a circle. Squeeze it firmly so that the bead doesn’t fall off.
Voila! You now have twisted crimp beads. You can continue the crimping process the entire time that you make your piece- it will help you to space out and secure your beads.
Crimping Throughout Beading
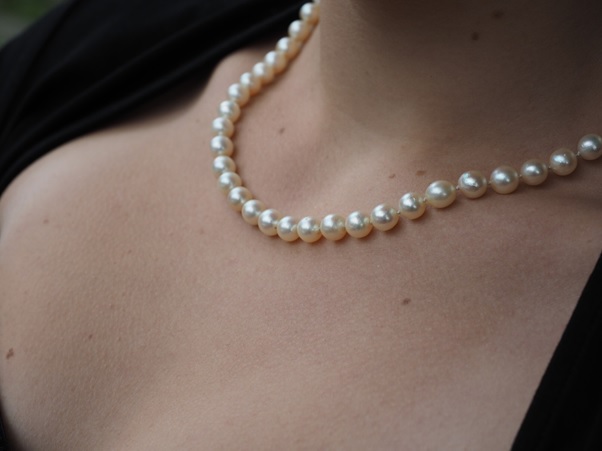
Once you have your first crimp tube secured by the clasp, you can move forward with stringing the decorative beads. Choose some beautiful bead designs at the craft store in some colors, shapes, and patterns that you like. Glass beads and pearls are some of our favorite materials, but metal beads make great accents at various parts of your piece.
Begin to string your beads in the order that you want them. Every time you reach a place where you want there to be a small space, use a crimp bead or tube to secure the previous beads. Like the first crimp bead, you want to make sure it’s close to the final bead of your sequence without being too close.
If you don’t want there to be a lot of spaces in your bracelet or want it to be evenly spaced out, that also is fine. You still need to use tiny crimp tubes, though, to make sure that everything stays in place. In addition to having one near the clasp, make sure that you put a crimp bead on the other side of your necklace or bracelet before the loop that the clasp will go into.
Start Designing Today
Now that you know how to use crimp beads when crafting homemade jewelry, it’s time to learn more about the gorgeous accessories that you can make and wear. Check out the ‘jewelry’ tab on our home page to learn more about recent trends in necklaces, bracelets, and beyond. You can also take a look at the ‘fashion’ section to learn about the outfits that pair best with your handmade pieces.
Stay stylish, fashionista!